Right now we have just 24 sample posts, so displaying all the posts on a single page isn't such a big deal. But the real site could potentially have hundreds of posts and displaying all of them at once would really hamper page loading times.
That's why we're going to split the posts up into pages; LocomotiveCMS makes this topic easy. Let's take a look.
To paginate a collection, use the paginate tag. Update your app/views/pages/posts.liquid template to use the paginate tag as shown below.
  {% block main %}
    <div class="row posts">
      {% paginate contents.posts by 12 %}
        {% for post in paginate.collection %}
          ...
        {% endfor %}
      {% endpaginate %}
    </div>
  {% endblock %}
The paginate tag has the following format: {% paginate collection by entries_per_page %}. Above, I've paginated the posts collection, opting to show twelve entries per page. Our responsive design alternatively breaks to one, two, or three entries per row, so twelve–being divisible by all of those–is a good number.
Within the paginate tag, you have access to the paginate drop, which contains a variety of useful variables described in the table below.
| Name | Type | Description |
|---|---|---|
| collection | Array | An array of entries for the current page, taken from the collection originally passed into paginate |
| current_page | Integer | The number of the current page |
| previous_page | Integer | The number of the previous page. If there is no previous page, nil is returned. |
| next_page | Integer | The number of the next page. If there is no next page, nil is returned. |
| total_entries | Integer | The total number of entries in the collection which was passed in. |
| per_page | Integer | The number of entries to be shown per page. |
| total_pages | Integer | The total number of pages. |
| parts | Array | A collection of drops, each representing a page navigation item. Each returned part has three elements:
|
| previous | Array |
A drop representing the previous page. previous has three elements.
|
| next | Array |
A drop representing the next page. next has three elements.
|
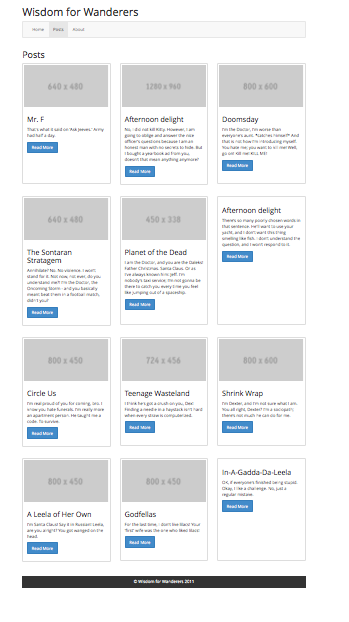
Back to our posts.liquid page, let's see what the Posts page looks like with the wagon server.

It's showing only 12 entries, so the posts have been broken up into pages, but we still need some navigation in order to get to the next page. Start by creating a new snippet.
$ bundle exec wagon generate snippet pagination
  Do you prefer a HAML template ? no
        create  app/views/snippets/pagination.liquid
In posts.liquid, include the snippet just above the {% endpaginate %} tag and be sure to pass in the paginate variable.
{% include 'pagination' with paginate %}
Open app/views/snippets/pagination.liquid and paste in the following content.
<div class="text-center">
<ul class="pagination">
<li{% unless paginate.previous_page %} class="disabled"{% endunless %}>
<a href="{{ paginate.previous.url }}">«</a>
</li>
{% for page in paginate.parts %}
<li{% unless page.is_link %} class="active"{% endunless %}>
<a href="{{ page.url }}">{{ page.title }}</a>
</li>
{% endfor %}
<li{% unless paginate.next_page %} class="disabled"{% endunless %}>
<a href="{{ paginate.next.url }}">»</a>
</li>
</ul>
</div>
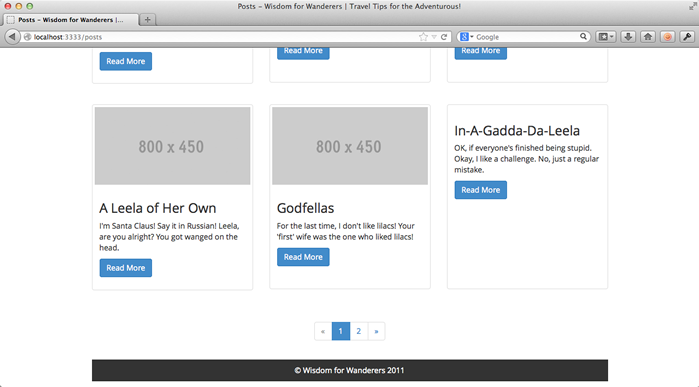
Above, we use the paginate drop and Bootstrap's pagination component to create page navigation for our Posts page.

It looks like it's working.
Finishing up
This was a short chapter, but don't blame me, LocomotiveCMS just made it so darn easy. Let's commit these changes and move onto to the next lesson: content type templates.
$ git add app/views/pages/posts.liquid app/views/snippets/pagination.liquid
$ git commit -m "Added pagination to the posts page."
Next: content type templates