Snippets are reusable pieces of Liquid code that can be included in pages. Let's look at how they work.
Snippet files
Snippets are stored in files under the app/views/snippets directory. If you open that directory, you'll find an example snippet, footer.liquid, that was included by the Bootstrap template we used.
Open the file and update its contents with the code below.
<div class="clearfix"></div>
<footer class="footer">
<p>© {{ site.name }} {{ now | localized_date: '%Y' }} </p>
</footer>
The above code should be mostly straight forward, but let's take a brief excursion to explore the new filter encountered here: localized_date.
localized_date
The localized_date filter is used for formatting dates.
In the code above, it is applied to the global variable now, which represents the current date and time. We've used global variables before in the form of page and site. Those interested can view a complete list of global variables here.
The filter is then passed a format string indicating how we would like the date or time to be formatted. In the code above, %Y means four digit year, so the time will be output only as the year. Ruby's Time#strftime is used to interpret the format string, so consult the Ruby documentation for a complete list of possible format string variables.
Here are some sample pieces of code using localized_date:
{{ 'July 1st, 2012' | localized_date: '%-m/%-d/%y' }}
<!-- Outputs: 7/1/12 -->

{{ now | localized_date: '%r' }}
<!-- Outputs: 07:09:55 PM -->

{{ today | localized_date: '%A' }}
<!-- Outputs: Monday -->

{{ '2013-12-09' | localized_date: '%A', 'fr' }}
<!-- Outputs: lundi -->
Like other filters, localized_date can be applied to strings as well as variables. Also, the site's current locale is taken into account when formatting the date, so that days of the week and other locale specific formatting is done for you. To use a locale other than the site's current locale, pass in the locale's ISO code as a second argument.
Including snippets
Back to the task at hand, let's include the footer snippet file in our index page. Add the following line to app/views/pages/index.liquid just below the end of the main block.
{% include 'footer' %}
The Liquid include tag is used to insert snippets into templates.
To make the footer less plain, add the following code below the body * declaration in styles.css.
/* the footer */
footer {
  margin-top: 10px;
  background-color: #333;
  color: #fff;
}

footer p {
  padding: 10px;
  text-align: center;
}
Let's see how the footer looks using Wagon's web server.
Since we included the snippet in the index.liquid file, it has been inherited by about.liquid as well and the footer displays on both pages.
While the above footer snippet was a good demonstration of how snippets work, you may be wondering why use a snippet at all? In this example, it's true putting the contents of footer.liquid directly into index.liquid would have an indentical result.
But this isn't always the case. For example, imagine you had a side bar that appeared in some, but not all, sibling templates. By putting the side bar's code into a snippet file you can avoid duplicating code across template files. Further, page files, particularly index.liquid, can sometimes become quite large and difficult to navigate. In such situations, breaking some code into snippets can aid in code organization.
Passing variables to a snippet
Snippets have one more cool feature worth noting: you can pass variables to them.
In lesson 2.3, we made a frame and light box we for an image on the about.liquid page. Let's put the Liquid for this light box into a snippet so that we can easily reuse it for images anywhere on the site.
Create a new file, app/views/snippets/img_box.liquid, and paste in the following code.
<div class="img-box">
  <a href="{{ photo | resize: '800x>' }}">
    <img src="{{ photo | resize: size }}" alt="{{ caption }}" />
  </a>
  <p>{{ caption }}</p>
</div>
The code above is similar to the code in about.liquid, but I've changed the resize strings. The enlarged photo string is now 800x> instead of 800x. I added the > because I don't want to resize the image to 800px wide unless it is wider than that to begin with. The Gyeongbokgung picture we used was wider than 800 pixels, but now we are abastracting this for general use and future pictures might be smaller.
The resize string for the small version has been replaced with a variable, size.
Open about.liquid and replace the <div class="img-box"> tag and its contents with the code below.
{% include 'img_box' with caption, photo, size: "400x" %}
The above code includes the img_box snippet and uses the with keyword to pass three variables to the snippet. We must pass these variables to the snippet because variables defined in a template are not automatically available to included snippets. Only global variables can be used in snippets without first being passed in.
We can pass already defined variables or assign new variables inline using a colon. In the following example, all three include tags will produce the same output.
{% include 'sample' with foo: "baz" %}

{% assign foo = "baz" %}
{% include 'sample' with foo %}

{% assign bar = "baz" %}
{% include 'sample' with foo: bar %}
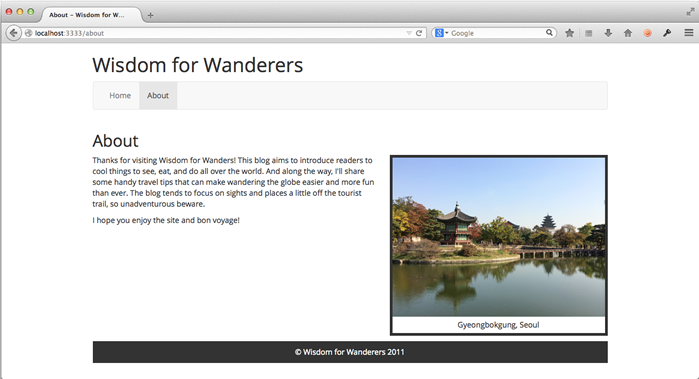
Let's preview the About page using Wagon's web server. If everything worked correctly, it should look the same as before.
Looks the same, great!
Let's put our new snippet to the test by using it for another image. Until we put some actual content on the homepage, let's add a photo to spruce things up. I'm going to use this picture taken at Helsinki's Temppeliaukio Church and you are free to use it too, if you like. Place the image in the public/images directory.
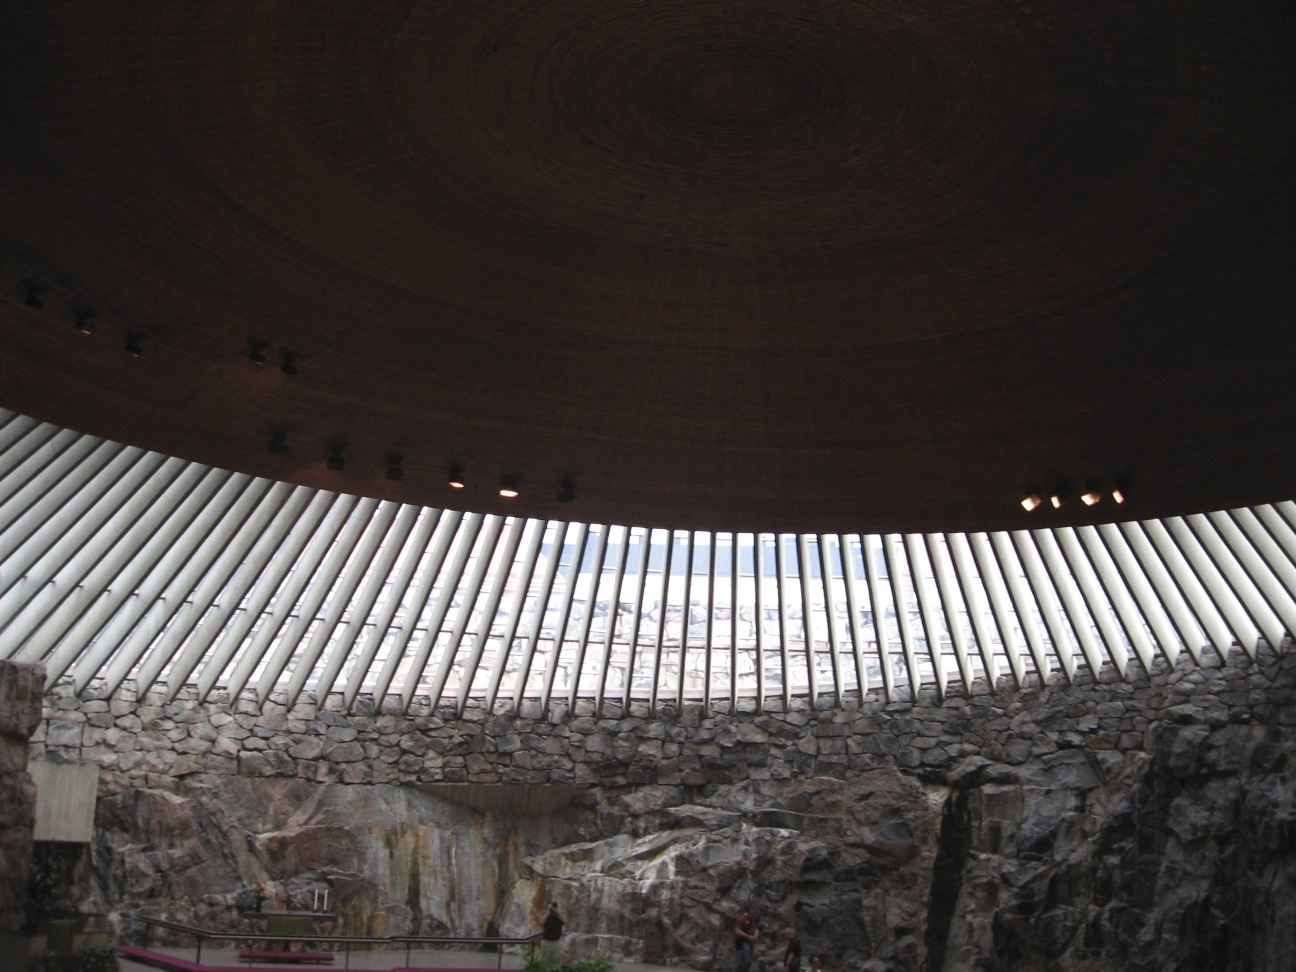
Open index.liquid and replace "Coming Soon." with the code shown below.
<p>Coming Soon.</p>
{% assign photo = "temppeliaukio.jpg" | theme_image_url %}
{% include 'img_box' with photo, caption: "Temppeliaukio Church, Helsinki", size: "1000x300#" %}
This will position the photo under the coming soon text and leave it at full width. The size string we specified will crop the photo to be 1000px wide by 300px tall. Preview the page in your browser.
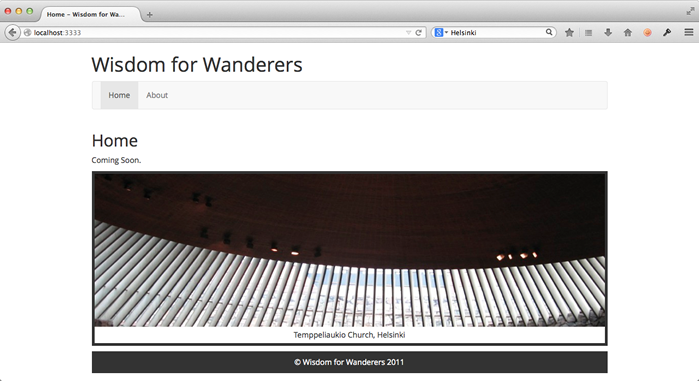
Looks good! And enlarged?
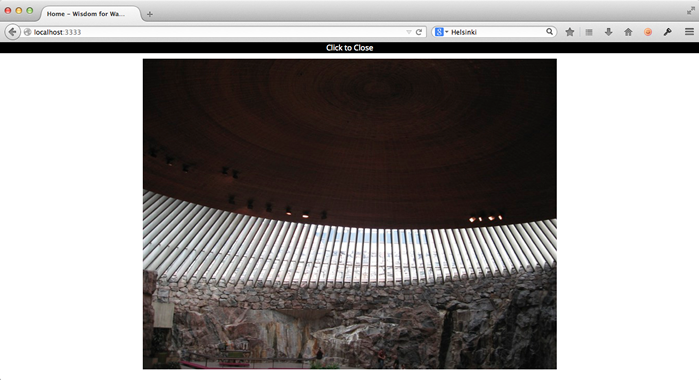
Beautiful! Our new lightbox snippet is working.
Finishing up
Commit your changes to the git repository.
$ git add app/views/snippets/img_box.liquid app/views/snippets/footer.liquid
$ git add app/views/pages/about.liquid
$ git add app/views/pages/index.liquid public/images/temppeliaukio.jpg
$ git commit -am "Added a footer to the site, a photo to the homepage, and an image box snippet."
Hopefully, you now understand snippets. In the next section, we will finish up this section of pages with some basic house keeping: HTML escaping.
Next: HTML escaping